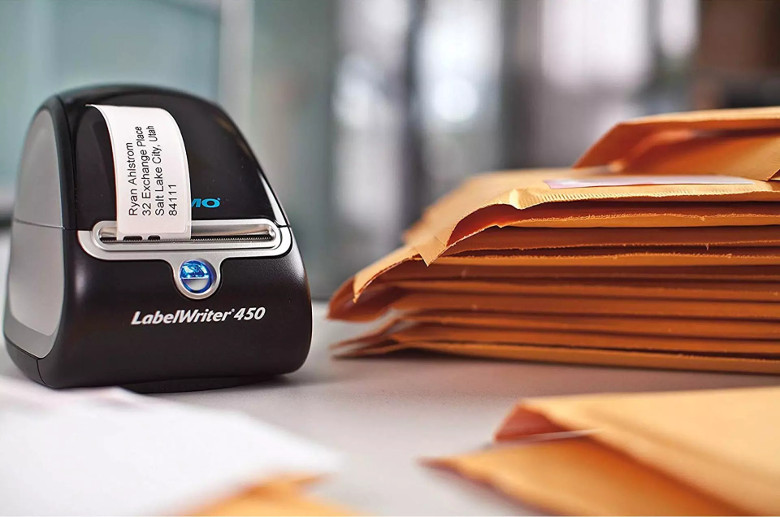
We've worked with a lot of different thermal printers and DYMO printers are ones of the best in terms of quality & speed of printing.
DYMO label/connect software is adjustable and allows to print any kind of labels. However, the most of our clients don't use DYMO software as they use Wordpress and print labels directly from the browser and in this case still some printer configuration difficulties may appear.
The main problem is that naming of labels by DYMO is not unified and you may not know how your labels named in browser.
For example in our case DYMO 450 came with labels in the box:
Name: "Large Address Labels"
Size: 36mm x 89mm
DYMO Item: S0722400
Name: "Large Address Labels"
Size: 36mm x 89mm
DYMO Item: S0722400
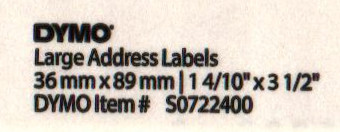
You can find sizes on the back of the label.
However, when we try to print labels via browser, in the printing popup, there is no proper label in "Paper size" dropdown.
There is no sizes in mm, there is no item id S0722400 and there is no label named "Large Address Labels".
The most suitable label that we found was called "Address" but it appeared with a different size (29x89mm).

This was the problem for some of our clients as some label sizes weren't added to "Paper size" dropdown by DYMO.
Of course, the most of labels are mentioned in dropdown and you may not have such problem.
But if you can't find your label in dropdown we have recorded a video how you can solve this issue.
I hope that this video helped you to configure your DYMO printer.
And if it didn't - Contact Us, we are always glad to help you.
And if it didn't - Contact Us, we are always glad to help you.
